 Fully Licensed and Insured
 Request an Oil Tank Scan
 Request a Free Estimate

 Fully Licensed and InsuredRequest an Oil Tank ScanRequest a Free Estimate
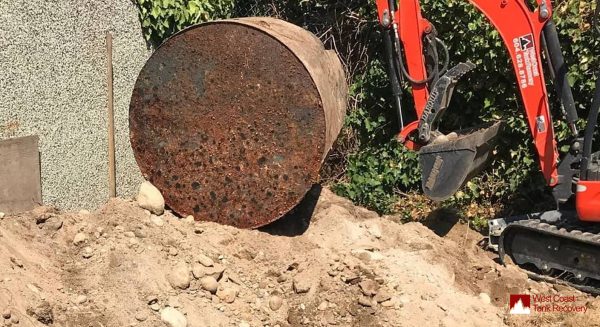
If you own an older home in British Columbia, there may be a forgotten legacy buried in your yard: an underground heating oil tank. For decades, these steel tanks were the standard for home heating. Today, however, they are a significant environmental and financial liability. If you’ve discovered one, or suspect it’s lurking beneath your property, here is your essential guide to the removal process.
The primary danger is corrosion. Underground tanks are made of bare steel, which inevitably rusts over time. Once the tank walls thin or develop holes, heating oil leaks into the surrounding soil. This contamination is a serious issue that can ruin your property value, threaten local groundwater, and potentially spread to neighboring lots. Because of these risks, most banks won’t mortgage homes with active underground tanks, and insurance companies often refuse coverage. Removing the tank isn’t just about safety; it’s about ensuring your home remains sellable and insurable.
The extraction process is highly regulated and must be handled by licensed professionals to ensure it meets provincial environmental standards.
Safety is the top priority during every step. The work area must be properly cordoned off, and the tank itself must be transported in compliance with hazardous waste regulations. By hiring a qualified expert, you ensure that all safety protocols are followed, protecting both your home’s foundation and the local environment.
Don’t be tempted to skip the testing. Documentation is your best friend when selling your home. You need a final “clean soil” report to prove to future buyers and mortgage lenders that the site has been successfully remediated. Keep this report, along with your disposal manifests, in a safe place with your property records.
Removing an underground oil tank is not a DIY task. It requires professional expertise, municipal permits, and environmental certification. At West Coast Tank Recovery, we specialize in the safe detection and removal of underground tanks across British Columbia. We handle everything from the initial scan to the final soil testing and restoration, giving you the documentation you need to protect your investment.
Visit our website today to learn more or schedule your professional tank scan!