 Fully Licensed and Insured
 Request an Oil Tank Scan
 Request a Free Estimate

If you have heating oil tank at the backyard of your home then think of its removal as it can be hazardous. Let us learn about the process of removing oil tank step by step.
Figure out the Location
You need to find the oil tank first. Identifying its location is very important. As a homeowner, if you are not familiar with the fact where it is located then take help of any oil tank removal contractor. He will pay a visit to your home and determine the location.
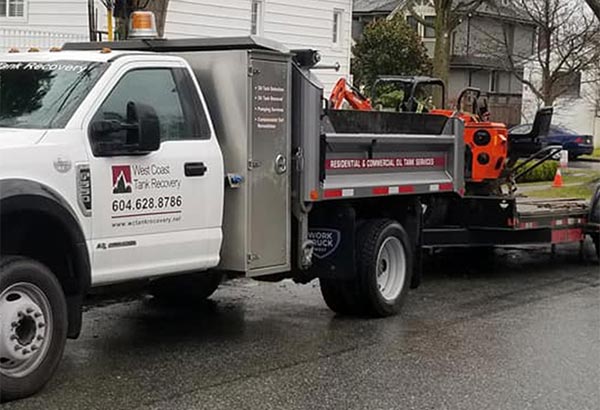
Equipment Required
You have found where the oil tank is placed. Now you need to determine how to remove it. The experts pay a brief visit to the location and decide what kind of equipment is required to accomplish the task. Sometimes, it requires a backhoe to remove the oil tank.
Use of Machine
After detection, the contractor will decide whether it requires a machine or hand digging for the process. If an underground tank is placed in a tight area then hand digging will do. Though it is time-consuming yet it becomes the only option to find the oil tank in an inaccessible area.
Request for Permit
Once the scope of the work is decided, the contactor should go for file permits with the municipality of the town. It is an essential thing to start the process of oil tank removal. You may have to pay the fee for it which depends on the municipality. It must be ensured that the removal process should not hinder the power and sewer lines in local areas.
Exposing the Tank
Once the tank is revealed, a hole is cut in the top. It is done to clear the tank interior. After the process of cleaning, the tank is displaced from the ground. Then it undergoes the inspection process. Once it is done with it, the disposal of the tank takes place.